By Larry Paulick in the April 2003 RootesReview
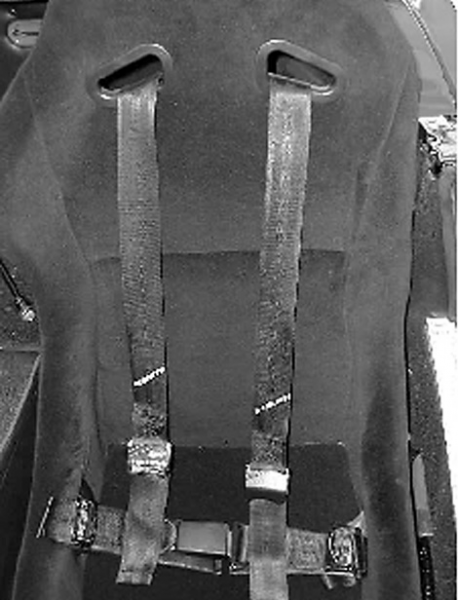
My last article on seat belts was about installing a 3-point belt. If you want a 4- point seat belt for auto crossing or racing your Sunbeam, or you just want a very nice option available, it’s the Schroth 4-point seat belt.
Features
The Schroth belt has several very nice features:
- It is a 4-point seat belt approved by DOT and FIA.
- It does not need the 5th belt, or crotch belt, as it has an anti-submarine feature in the lap design.
- Unlike most 4 or 5-point seat belts, this belt has a normal buckle/release feature, which is similar to your car, and not the cumbersome latching system used on racing belts.
- Schroth provides an additional option, which allows a retracting mechanism. This allows you to reach for the radio under normal driving conditions but turn it off for auto crossing or racing. All this is race approved.
I found the belt while looking for seats and liked the quality, design features, and the ability to meet various DOT and racing requirements. This is a very common option add-on on the BMW cars and the brand is used extensively on the F1 circuit.
Belt Installation
The installation is relatively easy. Here are the steps.
- The lap portion of the belt uses the standard reinforced holes already in the Tiger or Alpine. In fact, the English thread bolts, supplied through German, screw right into the boltholes.
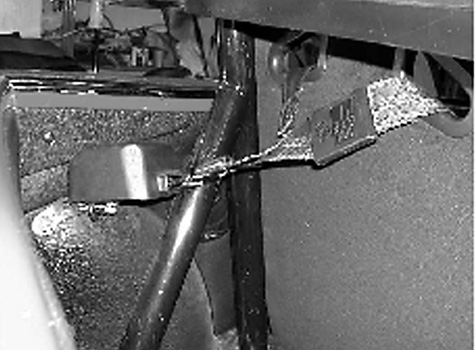
- The 3rd mounting point can use the built in mounting hole in the rear inner fender well area, if you are not using the retractor mechanism. If you are using the retractor mechanism, then you need to drill a new hole for the mounting bracket. A plate is provided, which when located, can be tack welded to the inner fender well like the stock mounting bracket. The photo shows that you can mount the mounting bolt rearward and still not have to cut the MKI metal convertible cover. This is not a problem with the later Sunbeams.
Caution: If you have a MKI, with the hard convertible top metal covers, this location will not allow the covers to swing forward all the way. I have a MKI and use 3 knurled bolts that I remove to take the metal cover out of the car before erecting the top.
If you have opted to add the retractor mechanism, then you need to mount the sensor. The mechanism must be wired to an ignition switch electrical connection and an added on/off switch.
Here is what I did:
- I mounted the retractor mechanism in the trunk area on the left rear inner fender well. This was close to the retractor mechanism and out of the way. Once installed, the trunk side cover protects it so that it will not be bumped. This device measures the lateral acceleration/deceleration and side motion of the car.

2. A wiring harness is provided to connect the retractor mechanism to the sensor.
3. A wire for the ignition and on/off switch is then routed. I chose to use the same route as the rear wiring harness on the left side of the car. The new wire can be snaked to run along side this harness. The connection is then run to an on/off switch, which provides power to the retracting mechanism. The wire is continued to the ignition switch which activates the retractor mechanism while the car is running.
4. I obtained a switch from Radio Shack, which is just a simple on/off switch. This allows you to turn the retractor mechanism off while racing and snug yourself down. I mounted the switch in the upper left hole in the dash. The Radio Shack switch is the same size as this hole, so it’s just a force fit, into the hole.
RESULTS
After you put the shoulder straps over your shoulders, the seat belts are as easy to use as conventional seat belts. The retractor, which is not found on other racing seat belts, is a nice feature, allowing you to have the best of both the worlds of street and racing. The release mechanism is just like a normal car, unlike the cumbersome mechanism found on racing belts.

This is a very high quality seat belt system. The 4-point belt price is around $140, and $200 with the retracting mechanism. The switch at Radio Shack was about $3, and you can complete the installation in about 4 hours.
