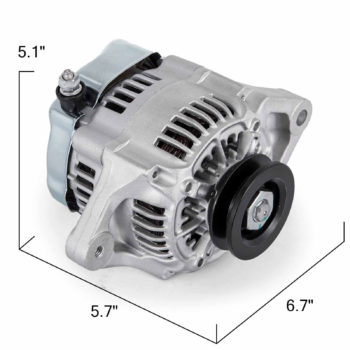
If you are like me and drive your car a lot, an alternator may be a good alternative to the original generator used in our cars. I’ve had my car on the road now for about 13 years and have covered over 30,000 miles with no charging issues whatsoever. Initially I installed a GM 1-wire alternator and was relatively happy with it’s performance. It was initially installed high on the block similar to the generator but later tucked it lower to shorten the belt and improve space under the bonnet. Although things fit, just barely, I was always thinking of looking for a smaller alternative.
Nippon Denso style alternator
Many of the hotrod guys use the Nippon Denso style alternator similar to this one. It’s very compact and is rated at 70 Amps, more than enough for our cars. The alternators are available here and and are $73.92 with free shipping.
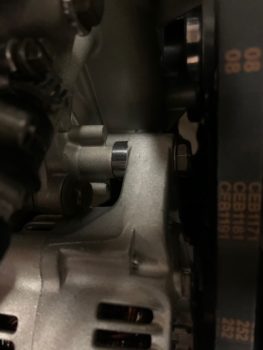
Obviously, we’re going to need some way to mount the alternator. The pivot bolt goes directly into the water pump. I’m running a 302 with the 260 front timing chain cover and CVF racing crank pulley and reduced diameter water pump pulley. This necessitates a short spacer (approximately .5”) to get the alternator in line with the other pulleys as shown in the accompanying photo (your setup may be different).

Next I set about designing the adjustable bracket. With the alternator temporarily installed by the pivot bolt, I positioned it roughly where I wanted it and tooks some measurements. Next came a simple CADD model comprising a tube and curved / slotted bracket. Drawings are shown here. Check the drawings below. Click for full size.
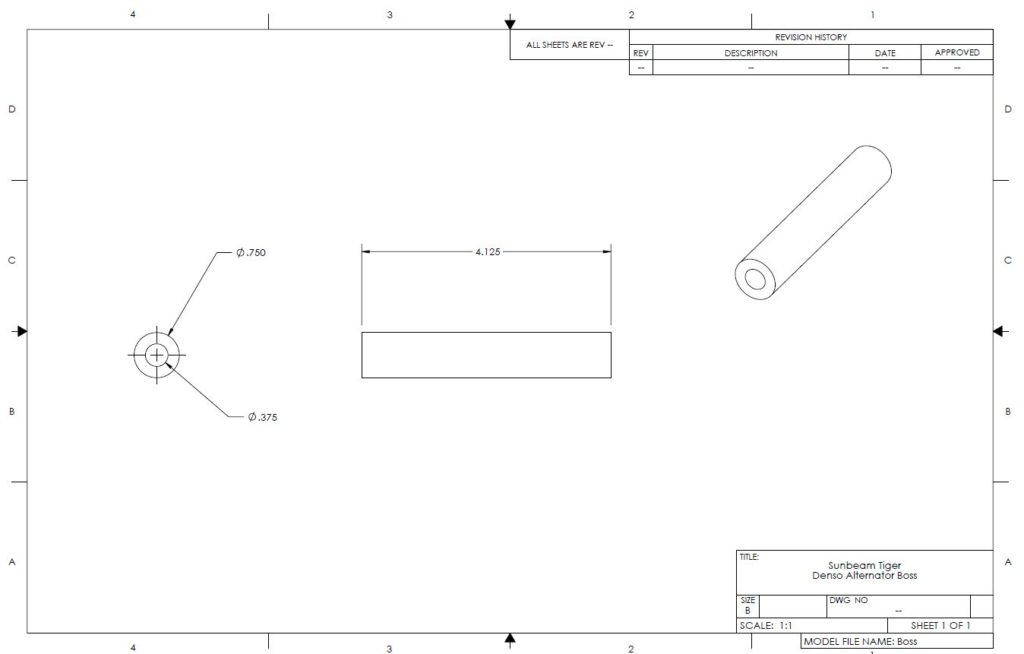
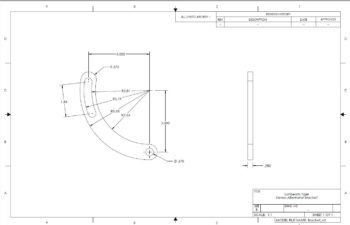
Mock up first
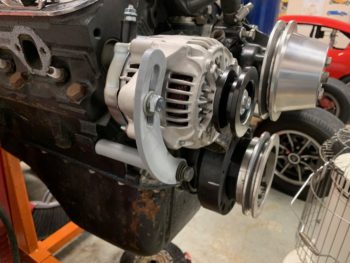
I mocked-up the bracket by creating 3D printed parts of each piece which worked great for fine tuning the design.
After I was satisfied with the design I made the 2 parts on my lathe / mill out of aluminum. BTW, the adjustment bolt that threads into the alternator is metric.
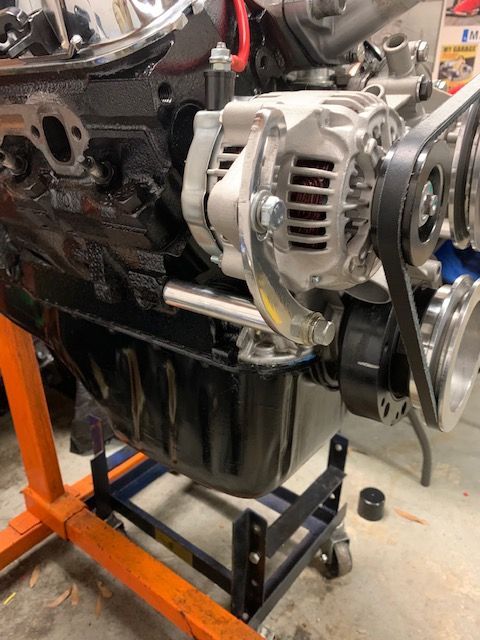
The belt that I chose is a Duralast 15358 V belt which is 35.75” in length. Once again, your application may be slightly different so be prepared to get a couple of sizes and return the ones that don’t work. Also, the dipstick tube may need to be modified for clearance.
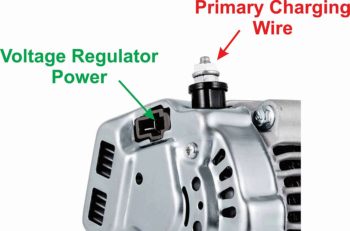
Wiring is very simple. I used some multi-stranded (flexible) 8 gauage wire from the alternator back to the hot side of the starter solenoid. Finally, the alternator needs 12V to the vertical blade on the back of the alternator to turn on the regulator.
Here’s a shot of the final installation in the engine bay:
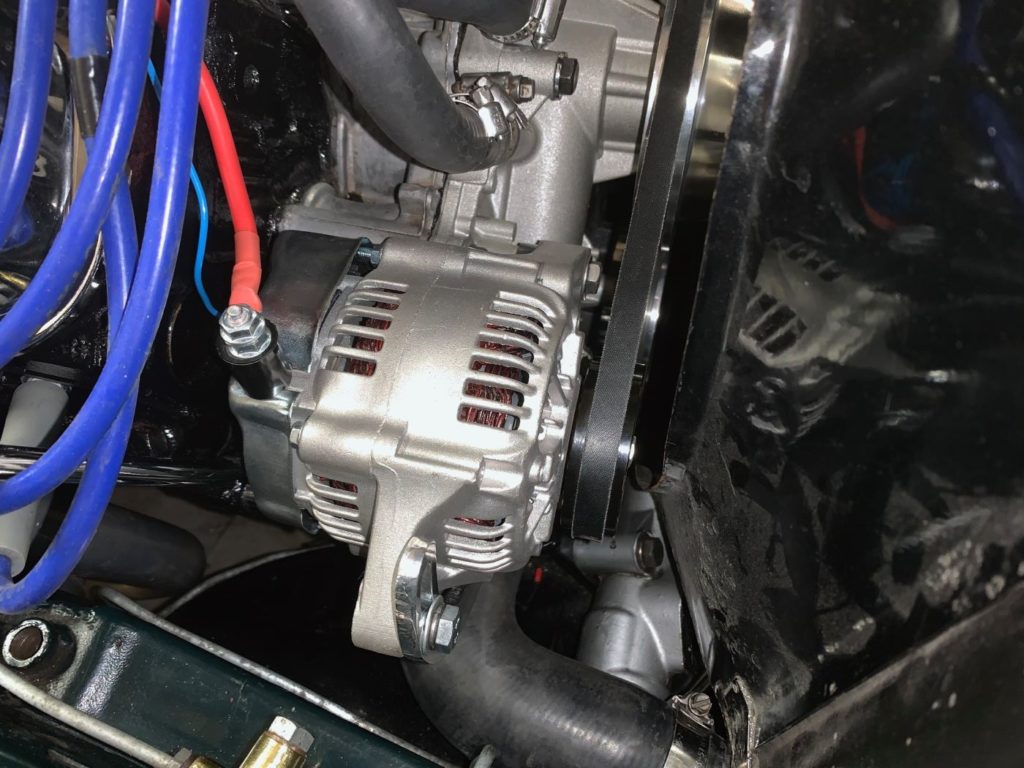
I hope that this article is useful and if anyone needs help feel free to contact me directly.
– Joe Parlanti
