
For years, I have talked to other vintage car owners concerned with the less than adequate lighting on our vehicles. A few years ago, I improved some of the problem by adding relays for the headlights, and LED bulbs in the other exterior socket locations. Still, it seemed that the rear of our vehicles needed more attention.
At each United, I viewed the many variations of third brake light applications which are permanent or temporary in placement. Not wanting to add a permanent mount on my trunk (boot) lid, nor the inconvenience of mounting/unmounting a temporary unit, I decided to make an update that seemed far too obvious to avoid.
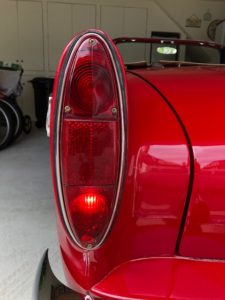
Those of you with the amber turn signal lenses can stop reading now. However, those of you with both upper and lower red tail light lenses have an excellent option.
The bottom tail light/stop light operate using a dual contact socket, while the upper turn signal is a single contact socket.
The housing of both sockets are identical and clip into the back of the chrome tail light bezel.
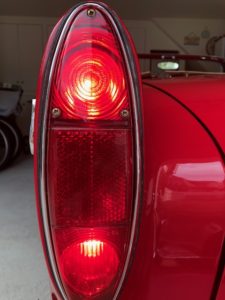
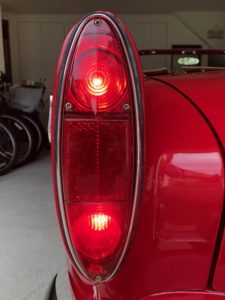
By replacing the top socket to a new dual contact socket, your car will have two additional rear lights. I’ve decided to make these into additional brake lights, although they could be additional tail lights if desired. You do not have to cut or splice into any existing wiring to make this conversion.
- Remove the chrome from the car fender (wing) by reaching in through the trunk (boot) and remove the nuts that secure them. Once you pull the bezels out, make note of the wire locations before slipping the spade wire terminals off the sockets. Don’t cut any wires! You may keep a magnet handy to retrieve the metric nuts from inside the fender after you drop them.
- The original sockets secure to these chrome bezels using tabs that can be bent back with a screwdriver for removal. You could use some old Sunbeam stop/tail light sockets in the top hole or just install some new double contact sockets that rated for a 3/4” hole as I did.
- Jump power from the existing brake light socket to the new upper one. My new sockets had 3 wire leads (2 black, 1 white) so I crimped a male spade connector onto one black wire and a female onto the other black wire, with a short male ended wire (A on diagram)
- Remount the chrome bezels to the fender.
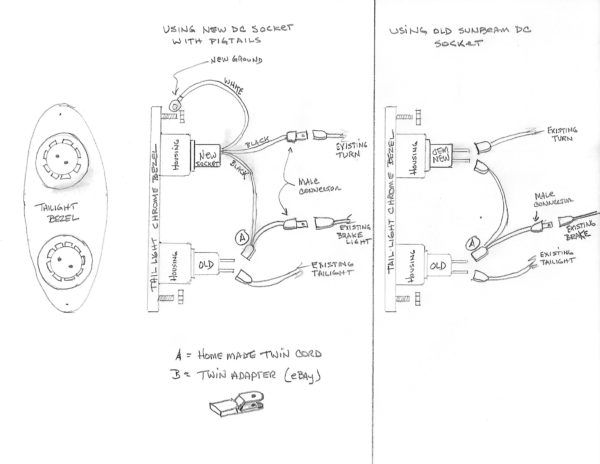
- Insert the male connector into the car’s turn signal wire, and female onto the lower brake socket using a twin spade adapter (B) so that you can pair it up with the existing brake wiring spade or make your own jumper like I did. (see A on diagram).
- Make sure both new sockets have same polarity as bulb is not reversible in socket.
- This socket is grounded upon installation, but if the new socket has a white wire (ground) put a ring connector on it and fasten it to the chrome bezel bolt as you can never have too many grounds in a Lucas circuit.
- Now insert your 1157 bulbs or double contact RED LED’s*. I’m happy to say it seems that the traffic stays farther back after the conversion.

*LED bulbs on turn signals will require an LED flasher module or resister at the socket. Joe Parlanti can supply kits for the entire car.
By Tom Hillmann
Comments (1)
Very nice write-up
DanR